


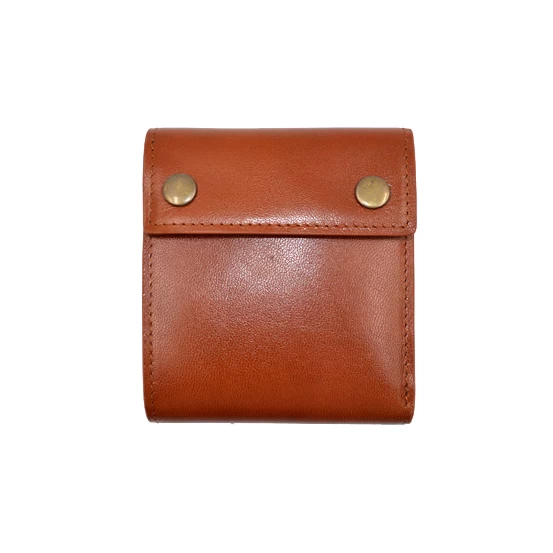
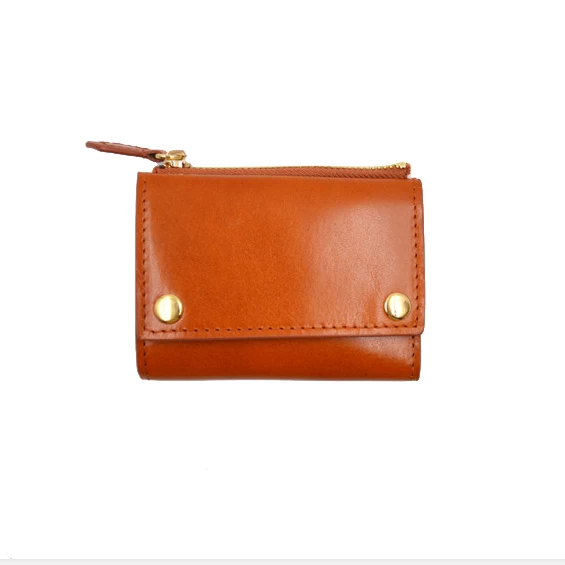

How to Make a Leather Wallet(1)
Lily
www.walletwmazon.com
2017-06-28 10:01:16
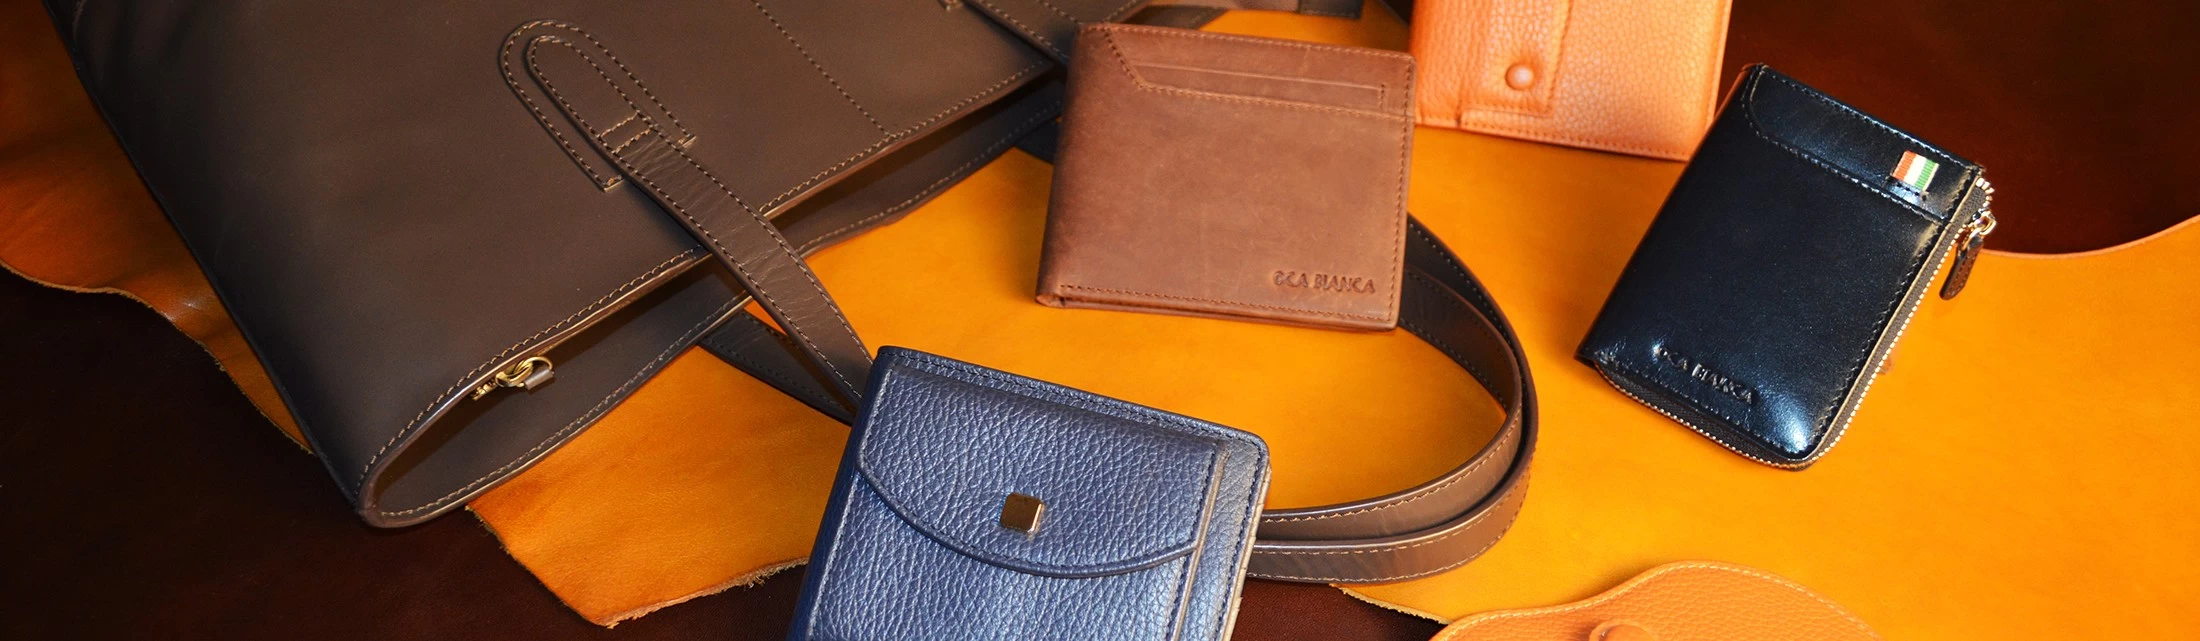
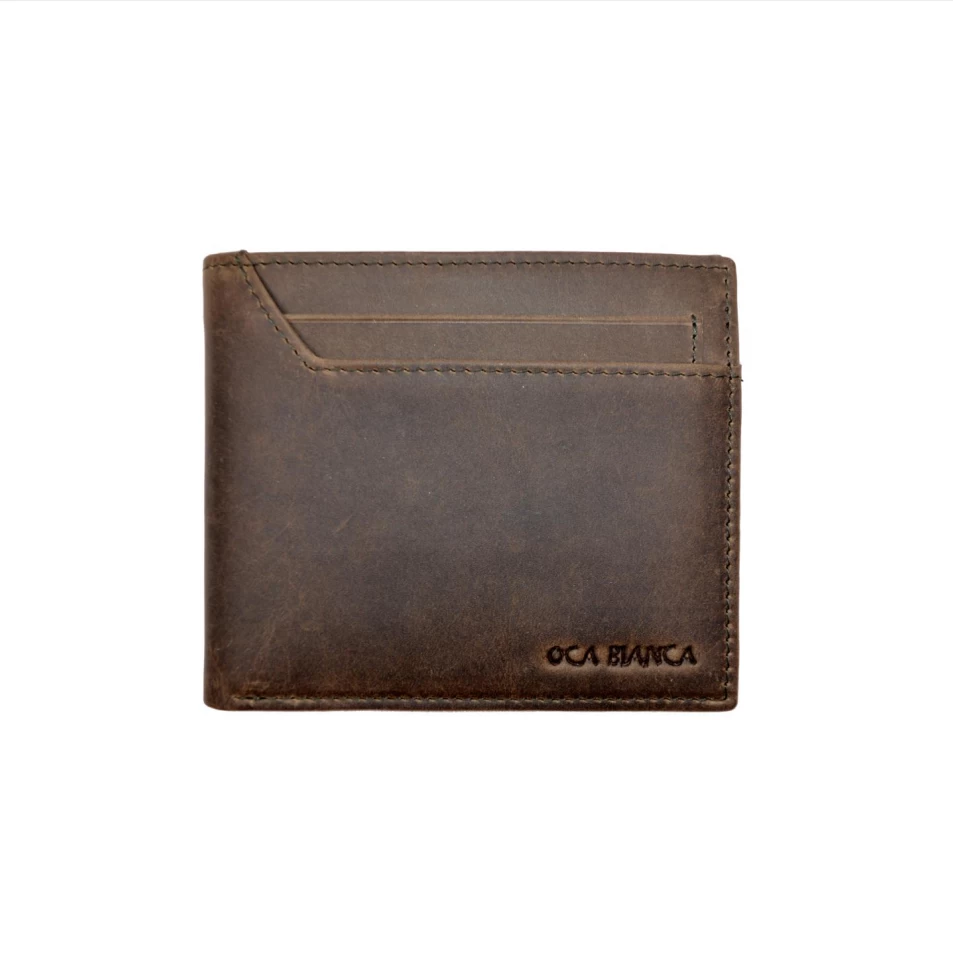
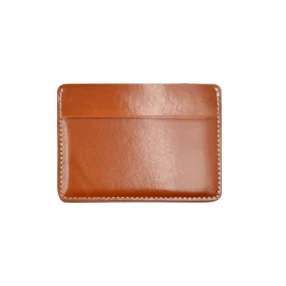
It is quite possibly the simplest form of wallets. Though make no mistake, it still takes a few steps and a couple of tricks to get it looking just right. In this tutorial I have photographed every step in making this leather wallet from figuring out the dimensions, to preparing the edges, dyeing, and hand stitching. If you have been following along in the past month or two you may have seen my leather belt tutorial as well, it’s worth checking out after you stitch this little guy together. Since this is a fairly long post (~ 100 photos), I am going to jump right to it. Give yourself almost 2 hours if this is your first project.
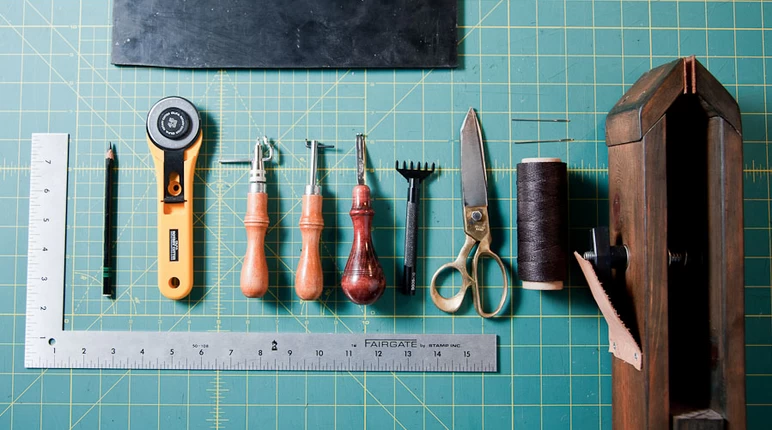
Above are all the essential tools required for this wallet. From left to right: Steel ruler, wax pencil, rolling cutter, edge creaser, stitching groove cutter, edge beveler size 0, 6 diamond shaped hole punch, scissors, two hand sewing needles, waxed thread, stitching pony (I built this one myself, but you can buy them online pre-made). Up top I have a rubber pounding mat to absorb the punch later on.
The type of leather I am using is called vegetable tanned. It is a type of tanning that allows me to work with the leather, mark it, and dye it. I chose a scrap 3-4 oz. piece that measured more towards the 3 oz. side – meaning it’s a bit skinny.
The first thing you will need to do is create your pattern, I already have mine set up, but let’s take a look at how to make one for this wallet. First – grab some posterboard and measure out a rectangle 9.5 inches long and 4.25 inches wide.
Then measure and mark the two fold lines. The distance between them needs to be 7.75 inches in order for a dollar bill to fit in with the card and only be folded once. To cut the angles as I have – use the photo as reference for marking the lines, but don’t take off too much! We need enough leather to grab the cards when it is all stitched up.
Tel:86 2785570058
Email:sunteam03@wuhansunteam.com
Website:www.leathergoods-manufacturers.com